Hands-On Sharpness: Classic Lenses on Digital Bodies

Today we dive into manual focus aids and techniques for using classic lenses digitally, turning timeless optics into modern tools. Expect practical setup advice, focusing drills, EVF tricks, and field-tested workflows that improve keeper rate. Share your experiences, ask questions, and subscribe for deep dives into adapters, optical quirks, and real-world shooting strategies.

Adapters, Registers, and the Path to Infinity

Choosing the Right Adapter

A quality adapter preserves the intended register and avoids wobble that causes micro front‑focus or back‑focus shifts. Favor solid, precisely machined options over budget pieces with play. Blackened interiors reduce reflections that mask peaking. Test at infinity and close focus, verify alignment marks, and keep notes so you can trust your lens across different bodies.

Mirrorless versus DSLR Bodies

Mirrorless bodies simplify manual focus because short registers invite simple adapters and precise EVFs. DSLRs may require optical focus screens or live view, adding complexity but not impossibility. Consider whether your camera offers focus peaking, punch‑in magnification, or customizable buttons, and decide if an EVF upgrade or external monitor could meaningfully increase your focusing confidence and speed.

Infinity Focus and Close Range Reality

Not every adapter reaches perfect infinity, and some intentionally overshoot. Verify using a distant subject and live view magnification, then test at portrait distances where small shifts appear. When adapters miss, compensate with shims or select alternatives. Keep records per lens, because slight thickness differences can alter bokeh, depth of field rendering, and perceived sharpness across apertures.

Seeing Sharpness: EVF Tools That Work

Digital viewfinders transform manual focus by visualizing fine contrast where eyes once struggled. Peaking outlines edges, magnification confirms details, and exposure aids reveal haze that hides true crispness. Configure these tools to complement vintage coatings and lower contrast signatures. When tuned, you will place focus quickly, even in backlit scenes or low‑contrast evening street light.

Focus Peaking, Properly Tuned

Set peaking sensitivity to match scene contrast and lens character. Low settings reduce false positives; high settings help with flat textures. Try neutral profiles to avoid oversaturation hiding edges. Confirm with a quick punch‑in before finalizing. Over time, you will learn each lens’s peaking behavior, especially those with glow wide open, where peaking can be misleading.

Magnification and Punch-In Discipline

Assign magnification to a convenient button, then build muscle memory: aim, half‑press or lock focus, punch‑in, refine, shoot. For moving subjects, pre‑focus and use short taps instead of long checks. Magnify on eyelashes, text, or high‑contrast transitions. Practice until this sequence becomes automatic, so you stop missing fleeting expressions, reflections, and decisive gestures when seconds matter.

Digital Split Image and Overlays

Some cameras offer split‑image emulation or microprism overlays that mimic classic rangefinder screens. These aids can be superb for mid‑contrast subjects, yet still benefit from magnification confirmation. Combine them with zebra or highlight warnings to avoid exposure haze that reduces perceived acuity. Experiment to find which overlay aligns with your eye and each lens’s rendering tendencies.

Hands and Habit: Practical Focusing Technique

Technique turns tools into results. Smooth helicoids, stable stance, breath control, and timing all influence sharpness. Learn to rock through focus, watch micro‑contrast snap, and release the shutter at the moment of stillness. With practice routines and deliberate repetition, manual focus becomes instinctive, keeping you present in the scene rather than wrestling with mechanics or menus.

The Micro-Rock Method

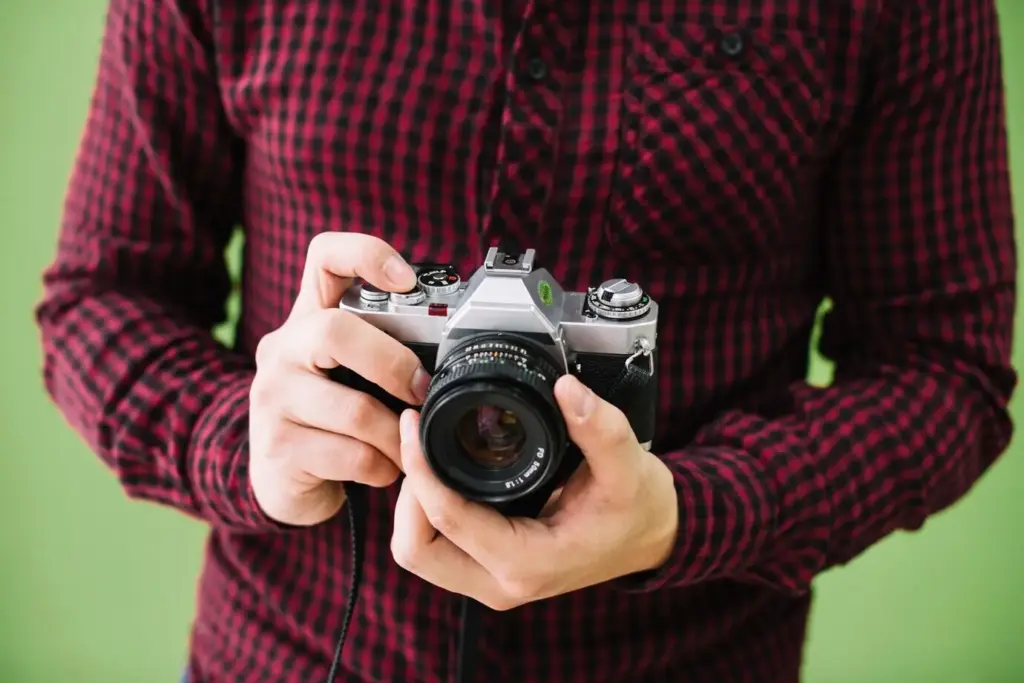
Instead of twisting past perfect focus, rock gently through the sharp plane while watching edges sparkle into clarity. Approach from the same direction to minimize helicoid backlash. Lock your elbows, exhale gently, and shoot at the peak of stillness. This consistent micro‑movement builds accuracy, especially with lenses that have long throws or slightly uneven damping.

Focus, Recompose, and Parallax Truths

Focus and recompose can shift the plane when shooting wide apertures at close distances. Minimize error by moving your body rather than twisting dramatically, or pre‑frame and focus on a point at the same distance. When precision matters, use magnification on the final composition and refocus slightly. This preserves intended eyelash sharpness without sacrificing natural framing.

Breathing, Stance, and Shutter Timing

Treat focusing like marksmanship: stable stance, soft knees, and gentle breathing. Exhale lightly and press the shutter during the pause to reduce body sway. For slower speeds, brace against a wall or use a strap‑tension technique. These small habits produce surprisingly consistent sharpness, especially with longer focal lengths or heavy glass that exaggerates movement.

Optical Quirks and How to Focus Around Them

Classic lenses charm with personality, but their quirks demand awareness. Focus shift when stopping down, field curvature displacing the sharpest region, and spherical aberration glow can trick your eyes and peaking. Learn each lens’s behavior, adopt working‑aperture focusing when necessary, and choose subjects that amplify strengths while quietly stepping around weak spots without losing creative intent.

Focus Shift When Stopping Down

Some optics move the sharp plane backward or forward as you close the aperture. If your camera does stop‑down preview, focus at the working aperture. Otherwise, memorize the direction and compensate. Test on printed targets at several distances, then validate on portraits. Reliable notes transform frustrating misses into predictable, repeatable sharpness across real shooting scenarios.

Field Curvature and Where the Plane Really Lies

Curved fields create a bowl of sharpness, making corners crisp when you focus slightly behind the subject, or vice versa. Map your lens by shooting a flat wall and observing corner behavior at various distances. For landscapes, focus a touch deeper; for portraits, bias forward. These micro adjustments align artistic intent with the lens’s actual geometry.

Genres and Scenarios: From Portraits to Night Streets

Different subjects demand different manual focus strategies. Portraits reward deliberate precision and eye‑priority checks, while street work values pre‑focus and zone techniques. Landscapes benefit from hyperfocal planning and careful tripod use. Low‑light scenes need stabilization and bright EVF settings. Adapting your method to context multiplies keeper rates and preserves each lens’s unique rendering signature.

01

Portraits with Vintage Character

Start by magnifying on the lead eye, then slightly refocus after recomposing at wide apertures. Use catchlights or eyelashes as anchors. If your lens has focus shift, work at final aperture. Embrace gentle glow for skin but maintain crispness around irises. Communicate with your subject to pause moments, giving you the calm needed for pinpoint accuracy.

02

Street and Candid Work

For moving life, zone focus rules. Pre‑set distance and aperture to create a workable depth of field, then ride the helicoid subtly as subjects enter your zone. Use peaking sparingly and rely on practice judging distance. A short punch‑in before anticipated action helps when time allows. Keep your camera at chest level and refine focus by feel.

03

Landscapes, Hyperfocal, and Depth

Hyperfocal charts, whether paper or app‑based, help place the focus where foreground and infinity share acceptable sharpness. Confirm with magnification on near and far details. Stop down thoughtfully to avoid diffraction. Classic wides often have engraved scales—use them, then verify. A lightweight tripod combined with EVF loupe inspection reveals subtle gains that accumulate into striking clarity.

Setup, Ergonomics, and Comfort for Long Sessions

Practice Plans, Challenges, and Community Feedback

Deliberate practice cements technique faster than casual shooting. Structured drills train muscle memory and deepen understanding of each lens’s personality. Share results, ask for critique, and compare peaking settings. Subscribe for monthly challenges that target specific skills, from low‑light focusing to fast portrait sessions, building confidence and a supportive network of manual‑focus enthusiasts worldwide.

Daily Ten-Minute Drill

Pick one lens, set a challenging aperture, and practice focusing on varied textures—fabric, foliage, typography—using peaking and a quick magnification confirmation. Record hits and misses, then review at 100% to identify patterns. Ten minutes daily rapidly stabilizes technique, reduces hesitation, and reveals how your chosen lens behaves under different light and contrast conditions.

Weekend Field Assignment

Choose a location with mixed distances, like a park or market. Pre‑focus zones, work on micro‑rock refinements, and periodically switch to magnification for critical shots. Tag images with settings and impressions. On return, analyze keepers, compare peaking levels, and post your notes. Invite feedback to challenge assumptions and refine your focusing decisions week by week.
Xarophelivunt
Privacy Overview

This website uses cookies so that we can provide you with the best user experience possible. Cookie information is stored in your browser and performs functions such as recognising you when you return to our website and helping our team to understand which sections of the website you find most interesting and useful.